|
I love my house. I really do. It was built in the 90s though, and I am NOT in love with the beige/peach bathroom. For many reasons:
I have a picture in my mind of what I'd love for this bathroom to look like, if I had enough money to make it happen all at once. Since I'm on a budget though, I have been looking for cheap, DIY solutions that I can tackle. They may not be a permanent fix, but they might stop me from shuddering every time I turn on the bathroom light and am transported back to the 90s. The first thing I tackled was replacing the beige toilet. My handy brother did the heavy lifting. Then I fell down the Pinterest hole of vanity countertop makeovers. I know that I want to paint the cabinets a nice navy, but the countertop is a hideous shade of peach. 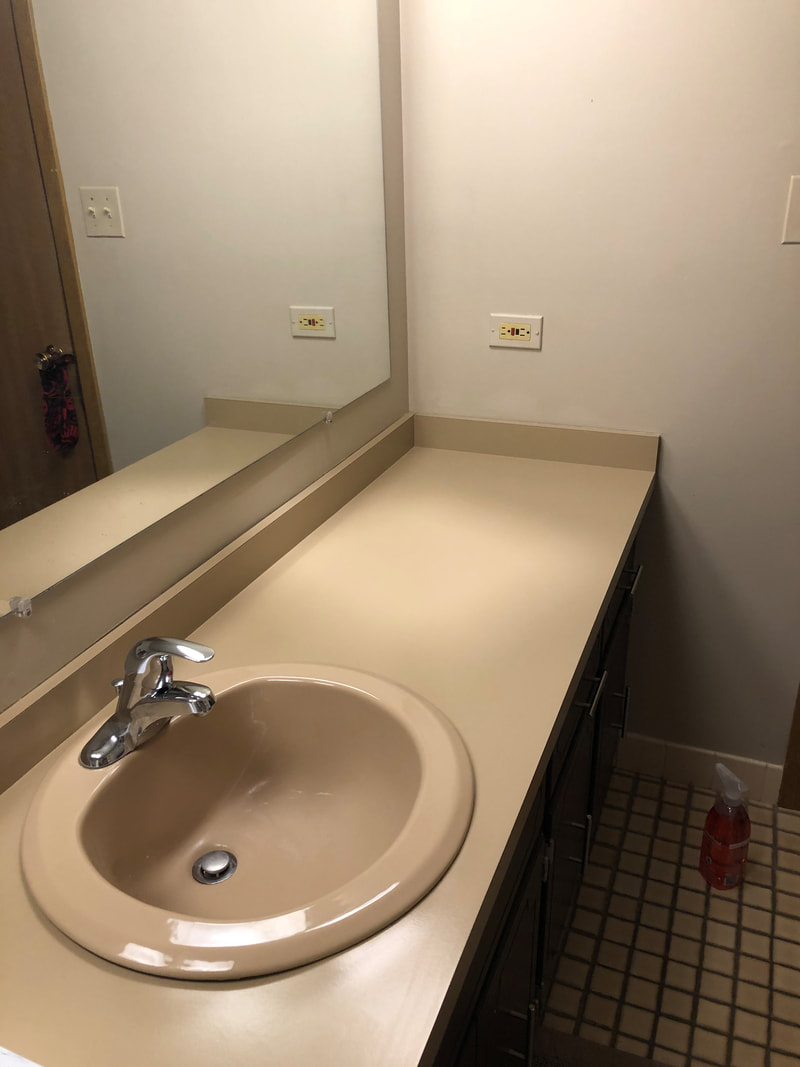
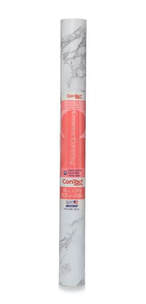
Cleaning the countertop was the first step. I removed everything and cleaned it with some all-purpose spray. I wiped it down afterwards with a paper towel to make sure it was really dry. I read a lot of posts that mentioned sanding the countertop to make sure the adhesive had more of a grip, but I chose not to do that. I rolled out my contact paper and began cutting the sections I needed. I peeled off the backing of the paper, only about an inch or so, and lined it up on the surface I was covering and smoothed the air bubbles out with a credit card as I went along. I learned quickly that it made more sense to adhere the long back strip against the wall before doing the countertop surface. That way I could hide the seam overlap. Thankfully, you can peel off the paper and reposition if you make a mistake.
The hardest part was figuring out how to go around the sink. I ended up watching a YouTube video that showed me I should cut small slits in the contact paper around the shape of the bowl so that I could pull it up nice and close and then trim off the excess with an Xacto Knife. It's not perfect, and, well, the beige sink is still there, but I do really like the end product. For $6 and a couple hours worth of work, my bathroom is a little less 90s! 
We will see how it holds up over time. It wipes down easy, and the seams of the paper are probably only noticeable to my eyes. The only disadvantage I can think of so far is that you cannot put anything hot on the countertop like a curling iron or straightener, but I have a trivet for that. Next up is motivating myself to paint the ceiling and walls! 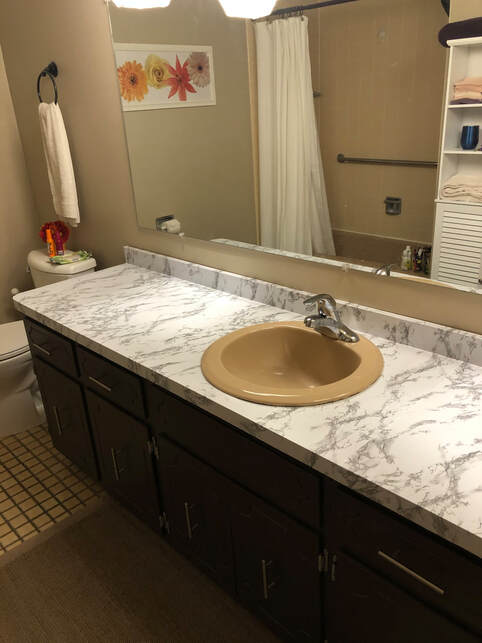
1 Comment
|
Categories
All
|
 RSS Feed