|
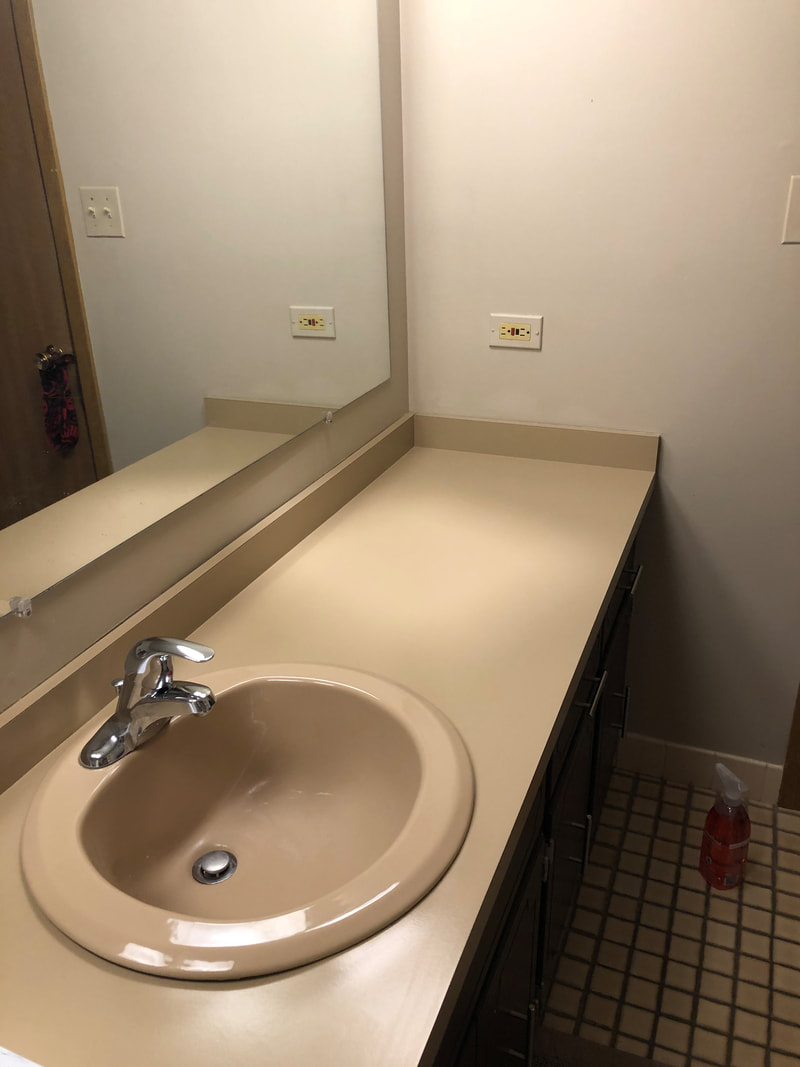
I love my house. I really do. It was built in the 90s though, and I am NOT in love with the beige/peach bathroom. For many reasons:
I have a picture in my mind of what I'd love for this bathroom to look like, if I had enough money to make it happen all at once. Since I'm on a budget though, I have been looking for cheap, DIY solutions that I can tackle. They may not be a permanent fix, but they might stop me from shuddering every time I turn on the bathroom light and am transported back to the 90s. The first thing I tackled was replacing the beige toilet. My handy brother did the heavy lifting. Then I fell down the Pinterest hole of vanity countertop makeovers. I know that I want to paint the cabinets a nice navy, but the countertop is a hideous shade of peach.
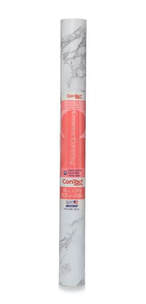
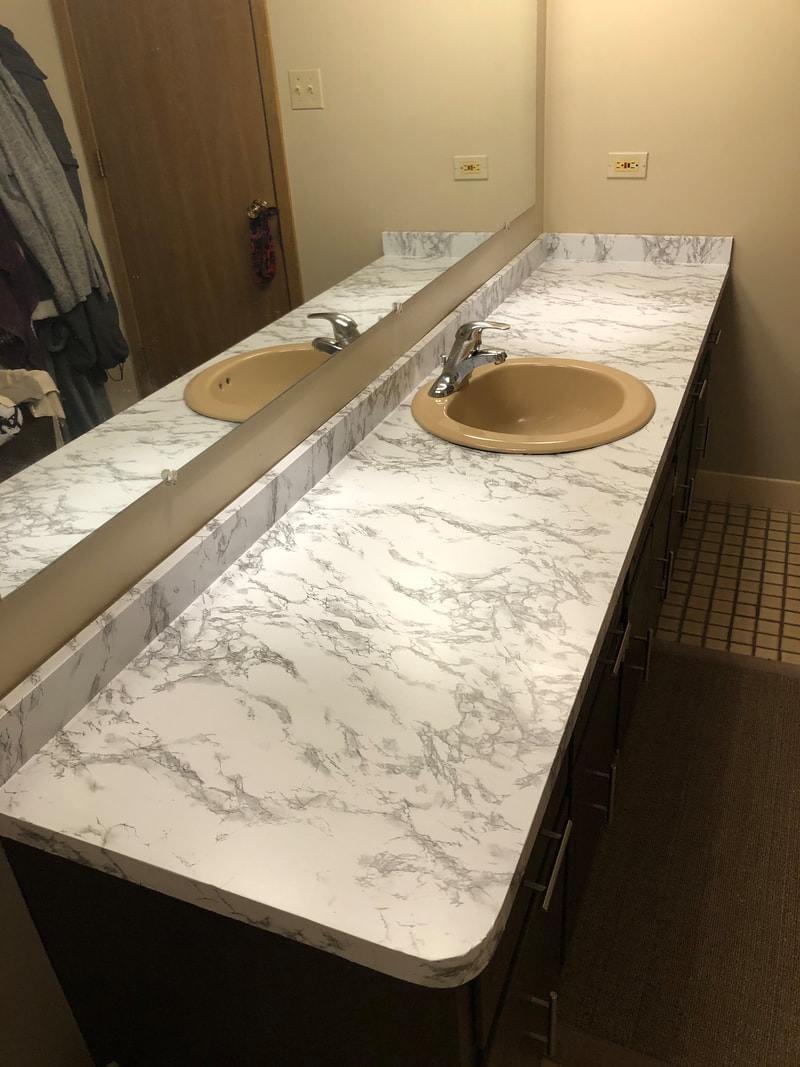
Cleaning the countertop was the first step. I removed everything and cleaned it with some all-purpose spray. I wiped it down afterwards with a paper towel to make sure it was really dry. I read a lot of posts that mentioned sanding the countertop to make sure the adhesive had more of a grip, but I chose not to do that. I rolled out my contact paper and began cutting the sections I needed. I peeled off the backing of the paper, only about an inch or so, and lined it up on the surface I was covering and smoothed the air bubbles out with a credit card as I went along. I learned quickly that it made more sense to adhere the long back strip against the wall before doing the countertop surface. That way I could hide the seam overlap. Thankfully, you can peel off the paper and reposition if you make a mistake.
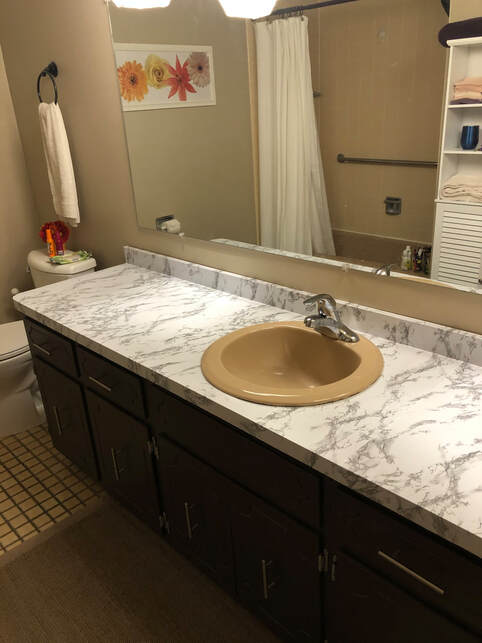
The hardest part was figuring out how to go around the sink. I ended up watching a YouTube video that showed me I should cut small slits in the contact paper around the shape of the bowl so that I could pull it up nice and close and then trim off the excess with an Xacto Knife. It's not perfect, and, well, the beige sink is still there, but I do really like the end product. For $6 and a couple hours worth of work, my bathroom is a little less 90s! We will see how it holds up over time. It wipes down easy, and the seams of the paper are probably only noticeable to my eyes. The only disadvantage I can think of so far is that you cannot put anything hot on the countertop like a curling iron or straightener, but I have a trivet for that. Next up is motivating myself to paint the ceiling and walls!
1 Comment
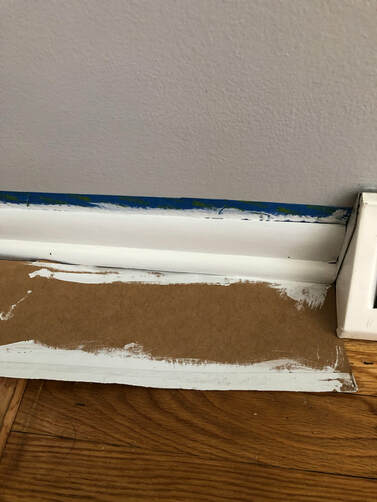
Have you decided to tackle painting the wood trim in your house? Are you tired of taping off the floor? Me too! I decided that my 90s orange colored baseboards needed an update, but quickly realized that taping off the floor is a sloooowwww process. Here is a hack that might help you: use a piece of cardboard instead of tape!
If you have a little bit of give between the bottom of your baseboard and your flooring, this will save you some time. I have not tried this yet with carpet, but it worked beautifully with my tile and wood flooring. The thickness of the cardboard you need will depend on how much of a gap there is in between your flooring and the baseboard. I tried using the flap of a cardboard box, but it was too thick. Cutting off one side of a case of soda box worked perfectly.
As you paint, slide the cardboard underneath the baseboard. Paint the area, remove the cardboard and give the edge a wipe to get any excess paint off. Repeat as you work your way around the room. It’s that easy!
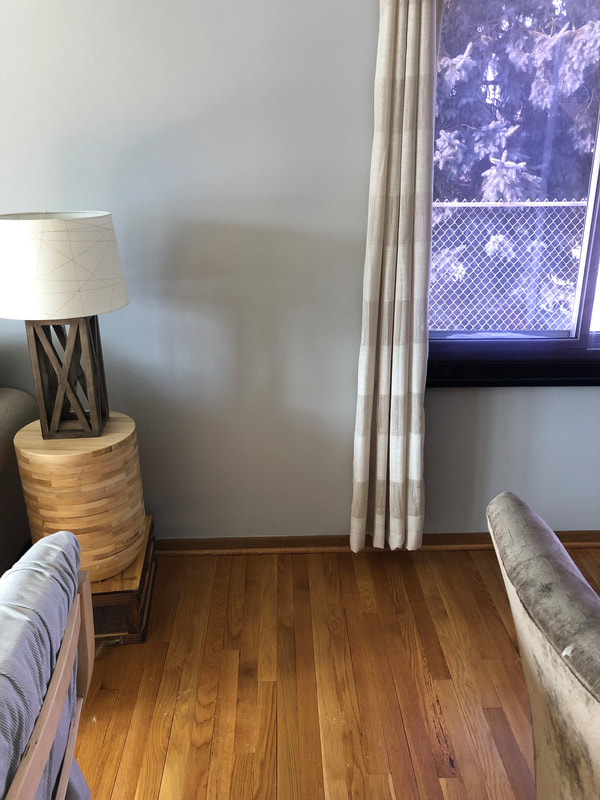
Before and After
Disclaimer: I am not a doctor and the statements on this blog have not been evaluated by the FDA. Products mentioned here are not intended to diagnose, treat, cure, or prevent any disease. Please consult with your doctor before utilizing any products.
Do you have back, shoulder or neck pain? Are you also interested in using essential oils? Then you’ve come to the right place!
My husband suffers from chronic neck and shoulder pain. I have accumulated all different types of essential oils throughout the past year or so, and bought an awesome book with tons of recipes. I decided to try one for easing back pain.
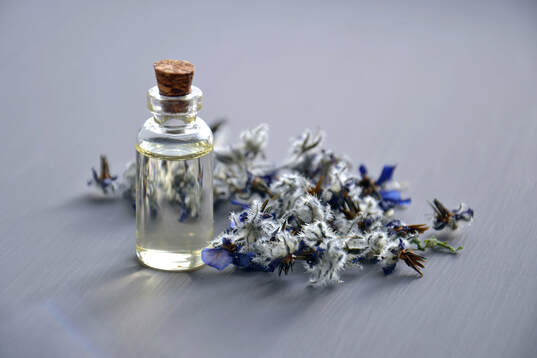
The book is called Essential Oils Natural Remedies: The Complete A-Z Reference of Essential Oils for Health and Healing by Althea Press and can be found on Amazon. Right now it’s free if you have Kindle Unlimited, but I like having a physical copy so that I can earmark pages. Now, the recipe I use from this book is intended to use in the bath, but I use it as a roll-on instead. You will need the following:
Combine all of those in a roll-on applicator and shake it up. Simply roll a little bit on the part of your neck or shoulders that hurt and see if it helps! My husband swears he can feel the difference within minutes. Let me know in the comments if it works for you!
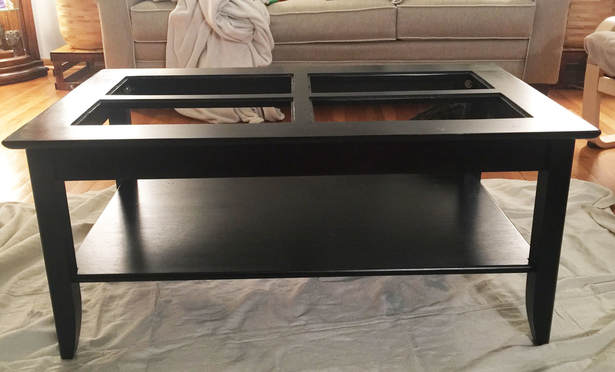
Do you regret buying a coffee table in a color that no longer matches your decor? I did. When I purchased my coffee table and console table set years ago, I thought black would go with everything. It's true when it comes to clothing, but maybe not when it comes to furniture.
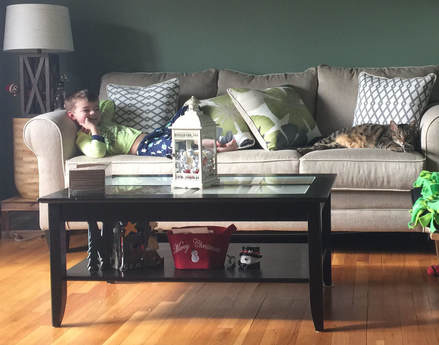
Behold the black coffee table with glass inserts (don't mind the child and the cat):
This table does not quite "go" with the light colors of the new couch and lamps. I felt bad just throwing it out since it's a perfectly good coffee table. So, I decided to give it a makeover!
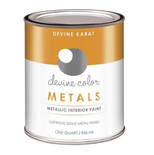
Target to the rescue! I bought a small can of paint in a gold color called Karat. It's a quart of metallic paint that only costs around $20. It's called Devine Color and made by Valspar, so I figured it must be decent. I usually buy Valspar paint for my walls. It comes in a variety of colors.
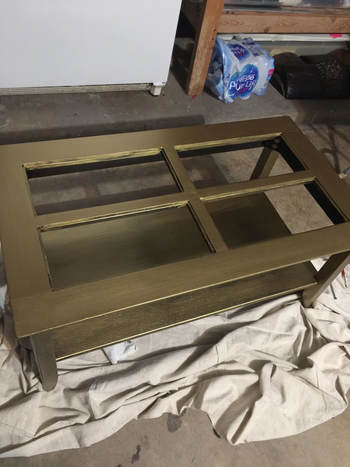
I removed the glass panels from the table and put down a drop cloth. Then I started to paint! Make sure to mix the paint in the can very well. You will notice that it's a green color when you first open it.
I used a standard brush that you would typically use to edge when painting the walls of a room. My intention was to use a roller, but it did not give a good texture to this table. I painted one coat on the entire table and then let it dry for about an hour or so.
You will notice that the table is in the garage in the photo above. The cats became curious, so I had to go paint elsewhere! I painted it with one more coat of the gold paint and let it dry. The paint finish is not entirely smooth or full coverage. I did that intentionally to give it some texture and let some of the black wood shine through.
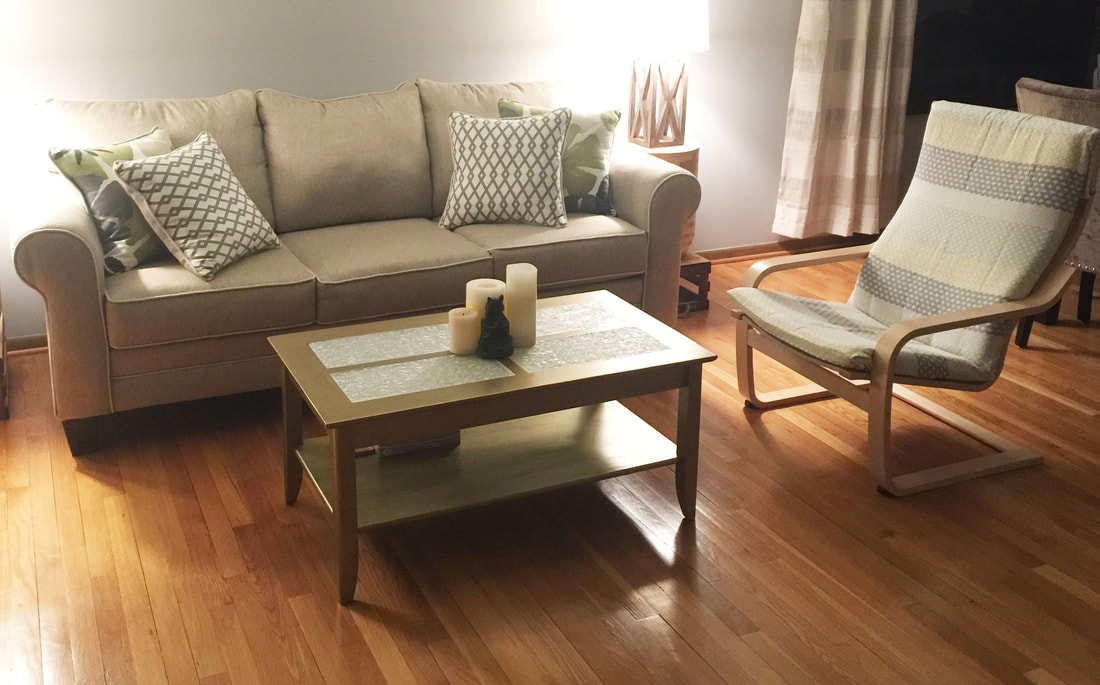
I needed to somehow match the sea green glass panels to the color scheme of the room. A few months ago, I had bought a roll of privacy glass window film for the small window next to my front door. I grabbed the leftover roll and covered each of the table's glass panels with it. It's self-adhesive, so super easy to do. The specific one I bought from Amazon was called "d-c-fix Self-Adhesive Privacy Glass Window Film" in Pearl. It cost me about $7. It gave the glass panels a more neutral color instead of the pale sea green. Once the table was completely dry, and I had finished covering the glass panels, I was done!
I love it! I think it looks so much better with the colors of the floor, walls, and other furniture. This makeover cost me under $30 and took about two hours of my time. So worth it! I encourage you to give your old furniture a makeover too. Do you have a fantastic before and after photo that you can share with all of us DIYers? Leave a comment!
|
Categories
All
|
Proudly powered by Weebly

 RSS Feed