|
My favorite holiday is definitely Halloween. I recently bought a new home in the past year, and so I’ve been on the hunt for some DIY Halloween outdoor décor. I found quite a few pins on Pinterest for zombie dolls and thought I’d give it a try. This post by wold630 at Instructables gave me my starting point.
I did not have any old dolls to zombify, so I went to the local Savers and bought five dolls for under a total of $15. A couple of them didn’t even have clothes, but that was totally fine since I was going to destroy these dolls anyway! 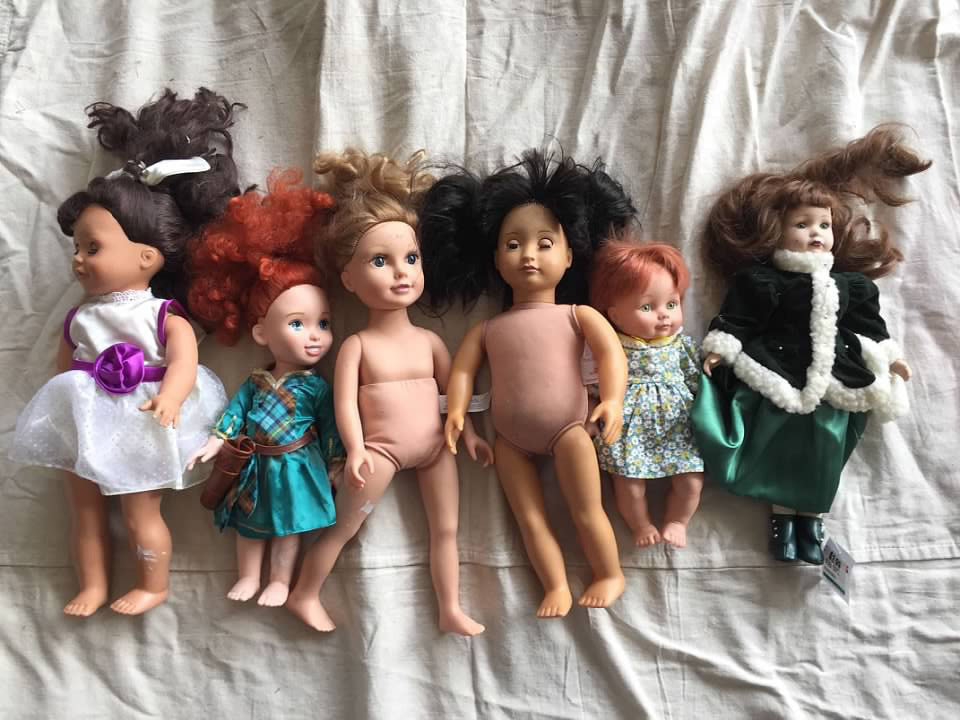
I already had the following supplies:
I laid out the drop cloth in the garage and undressed all of the dolls that did come with clothing. Next, I gathered up each doll’s hair and covered it with a plastic bag as best I could. It doesn’t have to be perfect since they are zombies. Then I spray painted the legs, arms and faces of each doll with the white spray paint. I highly recommend doing this in a well-ventilated area. While I waited for them to dry, I cut out two square pieces of the canvas drop cloth to make “clothes” for the two dolls that didn’t come with attire. I just cut a hole in the middle of the square big enough to fit the doll’s head through. 
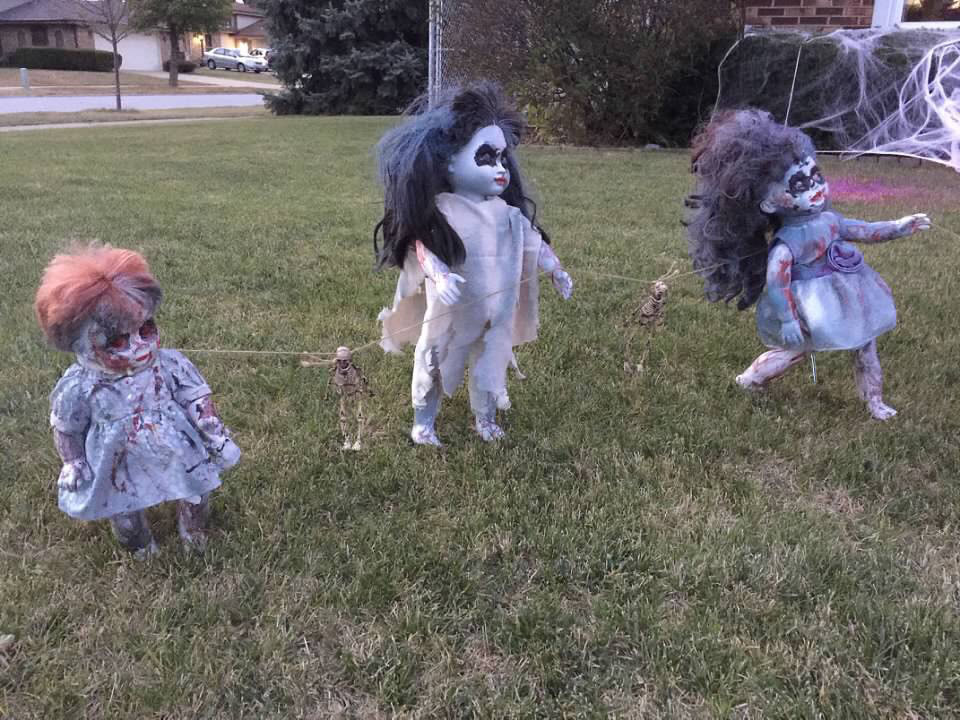
nce the spray paint was dry, I took the grocery bags off of the dolls' hair and got out my acrylic paints. I mostly used red and black to paint smudges and blood on their faces, arms and legs. The creepier the better. I let the paint dry for about 20 minutes or so.
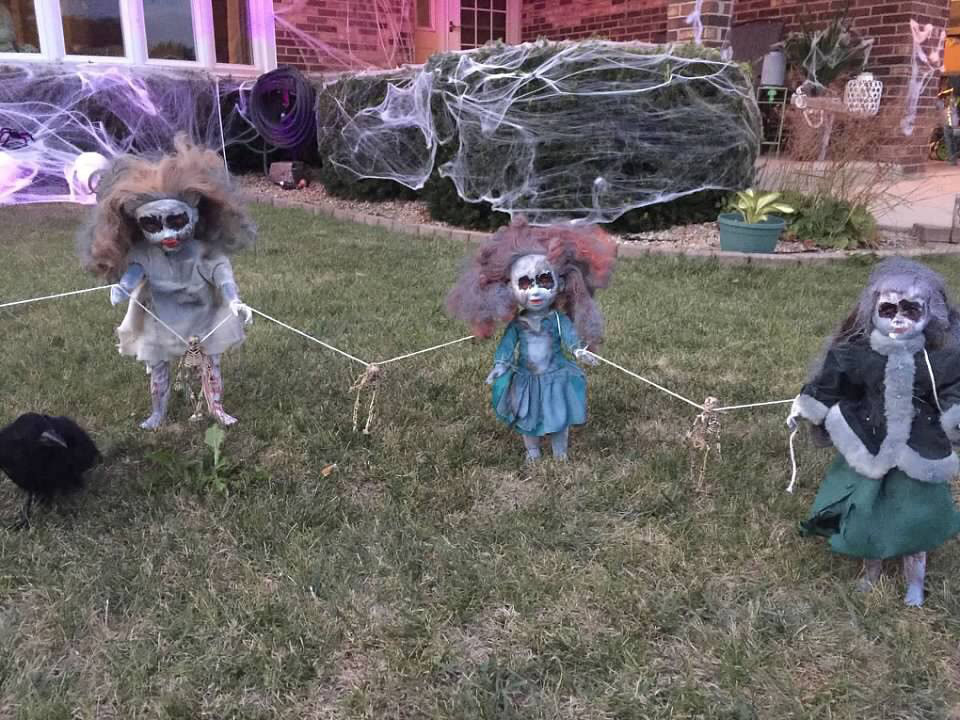
I was planning on putting these dolls in my front lawn and needed a way for them to stand up. If the body of the doll was cloth with stuffing, I cut a hole in the doll’s back and inserted a wooden dowel that I could then stake into the grass. If the doll’s body was made of hard plastic, I simply taped the dowel to the body. I redressed all of the dolls and gave them one final dusting of spray paint so that the hair and clothing looked a little ragged. Then I staked each doll in the lawn and set up some lights to make them even creepier at night. These are by far the creepiest decorations I have ever made myself, but it was super easy! Get out your supplies and give it a try too! 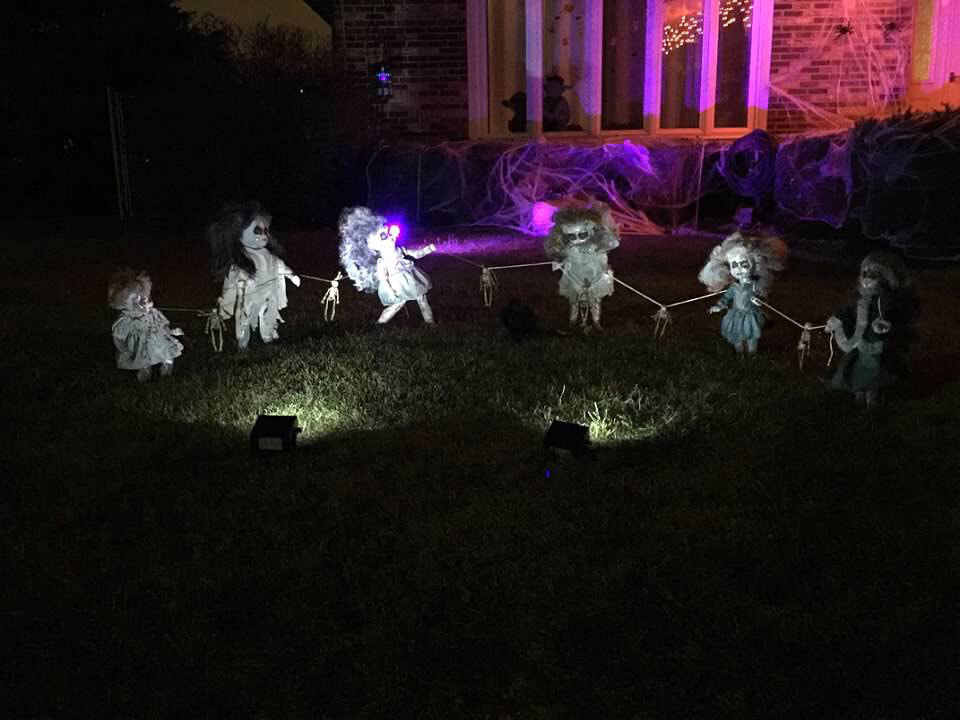
0 Comments
Leave a Reply. |
Categories
All
|
 RSS Feed